Instagram offers an automatic post-scheduling feature that lets you plan Instagram posts and have them show up on scheduled days throughout the week or month.
This feature can help you spread your content across multiple platforms without dealing with a third-party app or website.
Today, we will cover how to schedule Instagram posts without third-party app.

Harness the Power of Scheduling: An In-Depth Guide on How to Schedule Posts on Instagram.
One of Instagram’s most significant pain points was its inability to schedule posts. For a long time, users have had to rely on third-party apps to do this. But with Instagram’s new feature, finally, users can schedule posts within the Instagram app.
Here’s what you need to know about scheduling posts on Instagram
- To schedule a post on Instagram, create your post as you usually would. Then, click “advanced setting”; this will take you to another section.
- At the top right corner, tap on the “schedule” button. From there, you’ll be able to choose the date and time you’d want your post to go live.
- Once you’ve done that, tap “schedule,” and your post will be saved as a draft. To view your scheduled posts, go to your profile and tap on the “scheduled” option at the top right-hand corner. From there, you can edit or delete any of your scheduled posts.
Overall, scheduling posts on Instagram is a helpful way to keep your content consistent and ensure you’re always staying top-of-mind with your followers.
Get Ahead of the Curve: A Step-by-Step Guide on How to Schedule Stories on Instagram
In-app scheduling of Stories is not possible on Instagram. However, you can schedule Instagram Stories using third-party applications like Buffer.
Buffer allows you to plan, schedule, and preview your Instagram stories so that everything is prepared for posting with just one push notification. You can also select the timeframe for submitting your Stories, storyboard articles, and draft captions.
However, third-party social media scheduling systems often cannot upload stories directly to Instagram due to API restrictions. But there is a workaround, which we’ve detailed here.
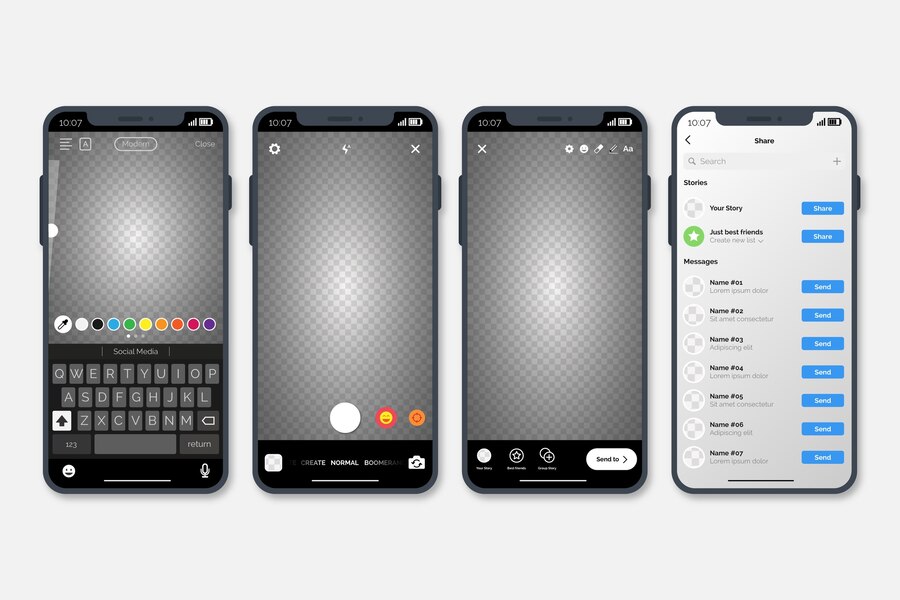
Step 1: Switch to the Stories tab.
Each story has its queue in the Buffer Publish dashboard. It is accessible underneath the stories tab if your Instagram account is linked.
Step 2: Add Story
Choose “add to story” to bring up the story’s composer.
Step 3: Adding media files.
Upload your content after the story composer is open. Next, upload your story’s photos and videos by selecting “add media files.” To create an account, you may submit up to 10 image or video files.
Step 4: Format your narrative.
To conceptualise and arrange a story, simply drag and drop the desired sequence of the media files. You can crop and change each image’s location.
Step 5: Include a note in every media file.
Make notes to prepare a caption or remind yourself to include stickers, polls, music, or hashtags in the post. Your message will be saved to the clipboard for simple pasting after you receive a mobile notice from Buffer to finish the post.
Step 6: Check out your story.
To get a preview of your story, click the preview button. NOTE: When you finish posting on Instagram, each video or image can be readjusted and repositioned.
Step 7: Plan your story.
Open the time and date selector by clicking the “Schedule Story” button. Select the day and time you want to publish the story, and Buffer will provide a push notification to your phone with all the information you need to finish the Instagram post. If you currently have posts saved on your mobile device, utilising the Buffer mobile app to schedule stories is a great choice.
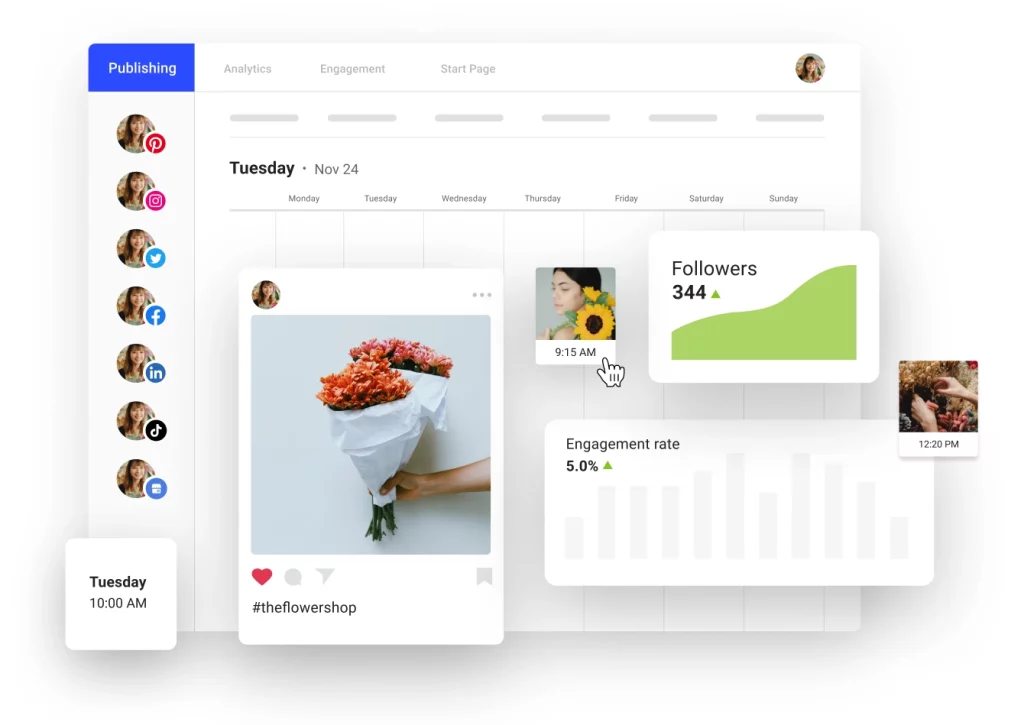
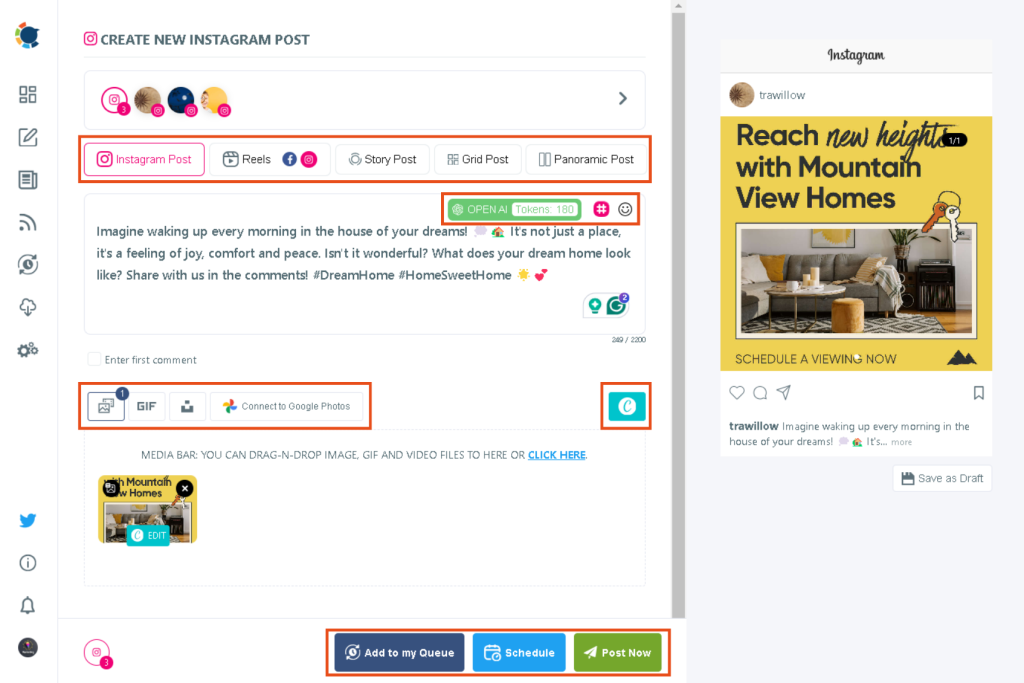
How to schedule Instagram posts with Circleboom
As an AI-powered social media management tool, Circleboom lets you design, create, share and schedule your Instagram posts, even for multiple Instagram accounts. Just follow these steps to schedule Instagram posts with Circleboom:
- Register and log in to Circleboom Publish. Then connect your Instagram Business Account.
- Proceed with Instagram posts, and pick your post type.
- Design or curate your visuals through Canva, Unsplash and Giphy stock libraries or your Google Photos. All are built-in.
- Let Circleboom’s integrated ChatGPT write your captions. You can also add emojis and hashtags, apply grammar checks, and set the tone of voice.
- When your post is ready, you can share them immediately or schedule them for later. For scheduling, you can create your own calendar or pick the best times to post on Instagram to automate your Instagram posts.
How to Schedule Instagram Posts With Multiple Photos
If you want to share multiple photos on Instagram but don’t want to spam your follower’s feeds, you can use a scheduling tool to post them for you. This way, you can control your photos’ flow and ensure they’re spaced out evenly. A few different scheduling tools are available, but one of the best is Later.
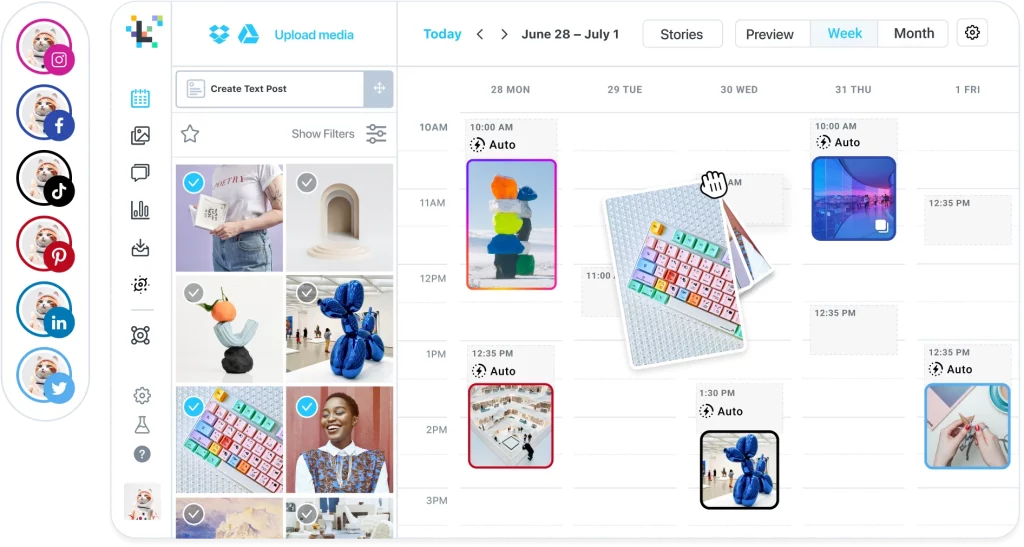
It is a free tool that allows you to upload and schedule your photos ahead of time. Once you’ve signed up for a free account, you can start creating your posts, and for each post, you can upload up to 10 photos.
Once you’ve selected your photos, you can add captions, locations, and hashtags and tag other users in your photos.
How to schedule Instagram posts on Phone by utilising Later
If you’re looking to make the most of Instagram for your business or personal brand, you need to be strategic about your posting, and that’s where “Later” comes in. Here’s how to schedule posts on your mobile device with Later.
Phone (iOS) Scheduling
- Download the Later app
- Sign up for a free Later app account
- Connect with your Instagram account
- Choose your Later plan
- Start scheduling your Instagram post: After logging into the Later app, Tap the “+” to access your Media Library.
- Click the “Create Post” button at the bottom right of the Schedule tab. Tip: You may also begin a posting by long-pressing any available period in the Calendar view.

- Choose the profile(s) you would like to schedule.
- Tap Select to select several things for the Multi-Photo post.
- Add your hashtags and captions by choosing the Saved Caption icon.
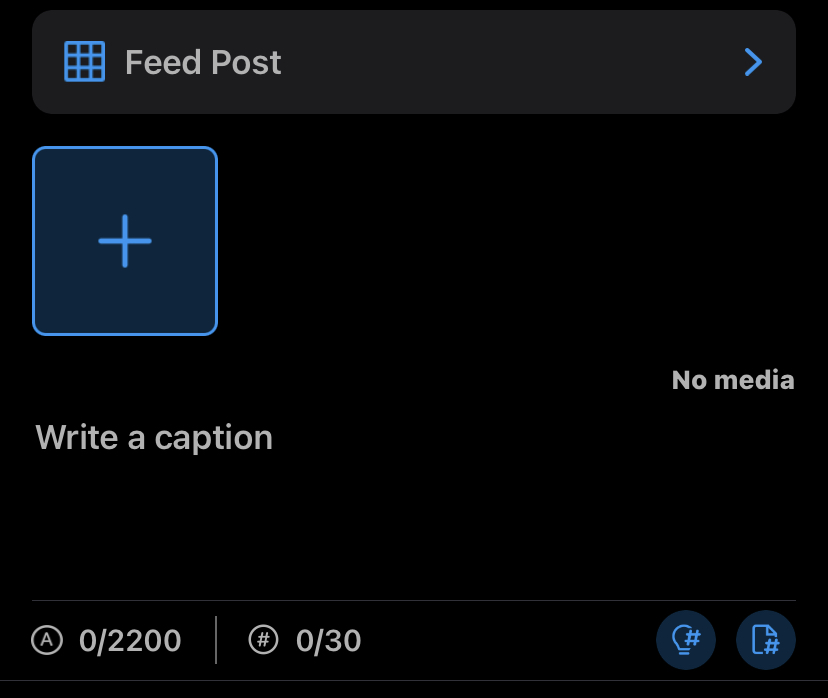
- Hit the “Change” button next to the text “No Time Selected.” Then, choose a time and date for posting.
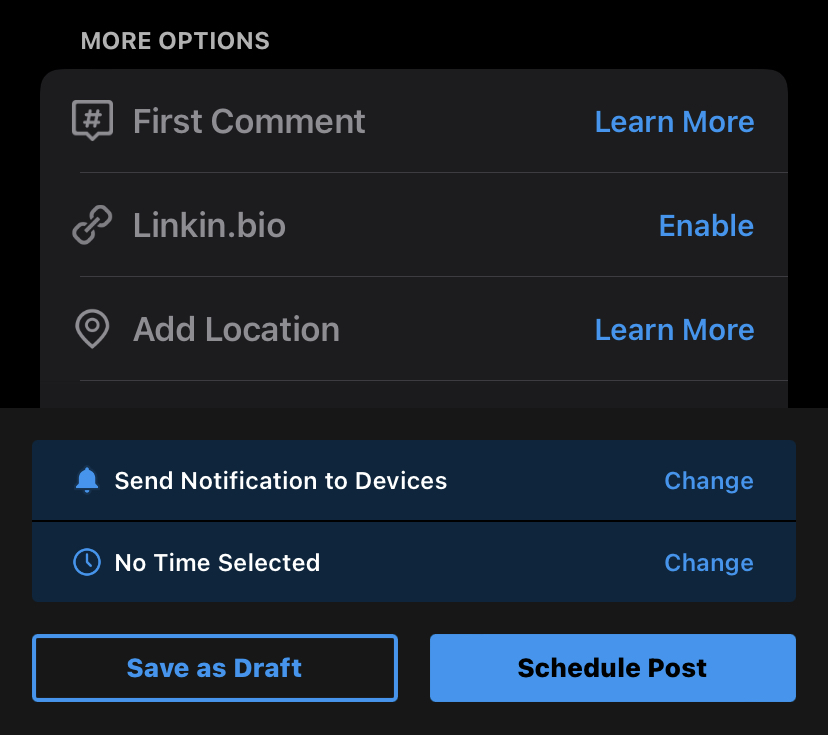
- Tap Schedule post, or select “Save as Draft.”
How a Third-Party Scheduler Can Help You Automate Instagram Posts
If you don’t have a new scheduling feature inside Instagram yet and you don’t want to wait for it, there are third-party apps that will help, and they are:
HOOTSUITE
Hootsuite is a well-known Instagram scheduling application used by seasoned marketers that helps them make social media posts and preview them before scheduling. Hootsuite is not only for Instagram but also for Facebook, Pinterest, Youtube, and even Twitter users. Although widely used, it is more expensive and complicated than other Instagram publishing apps.
SOCIALPILOT
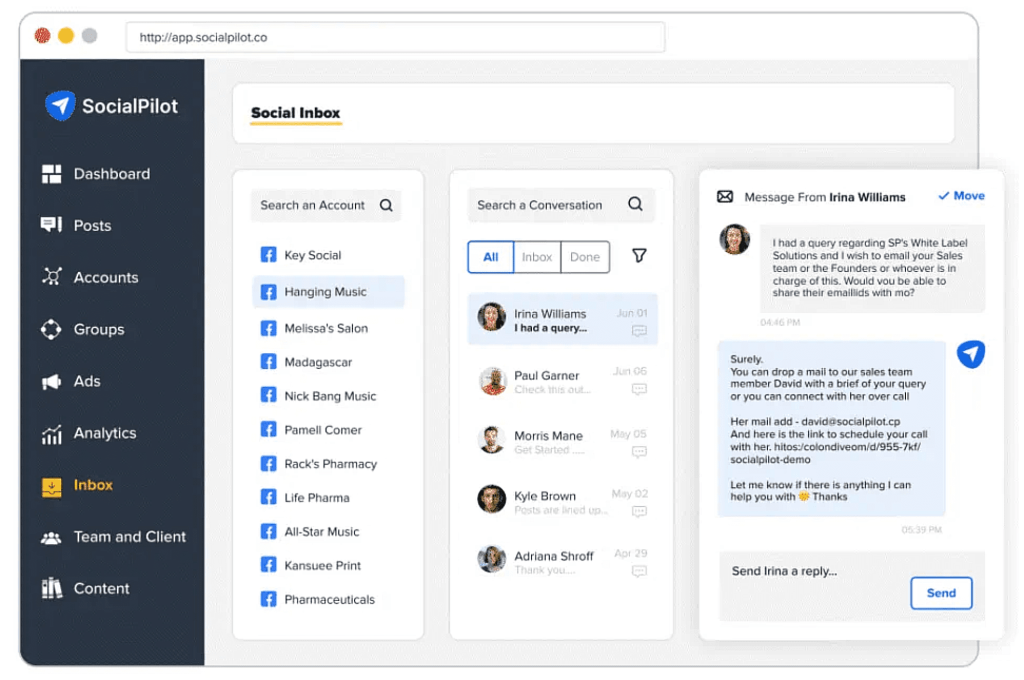
SocialPilot is, without a doubt, the best option if you’re seeking an economical yet dependable Instagram scheduling app. It is a platform focusing on solutions that combine direct Instagram scheduling with all branding components.
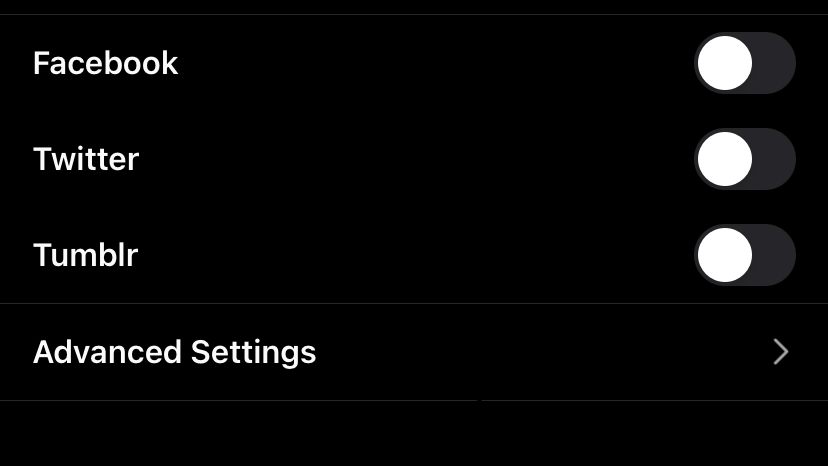
You can schedule Instagram reels, stories, and posts using SocialPilot because it is user-friendly and straightforward. Along with Instagram, it supports LinkedIn, Google My Business, Facebook, TikTok, Tumblr, YouTube, and Pinterest.
Final Point
This feature has been designed to make it easier for you to share, schedule your posts and grow your business on Instagram. By following this guide, you can save time, avoid the hassle of third-party apps and stay on track with your marketing strategy. Hopefully, this article has given you insight into how to schedule Instagram posts without third-party app.